|
What
you need: The material list is not long. Substiantially, you need the
following:
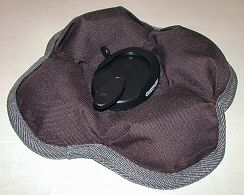
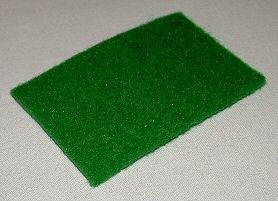
- The
upper layer material: this must be a tough material, with resistence
and a nice look, since this will be the side you'll look at. To obtain
this material I purchased an ankle gym weight and disassembled it. I
obtained two results: first, the material, second the right measure
for the unit. More cutting was needed anyway.
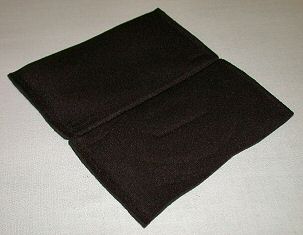
- The
middle layer material: to guarantee that the mount be capable of
resist to vibrations and accelerations, we need that the middle point
of the "cross" will be capable of a certain inertial resistence.
So it's not possible to have only the upper and lower layer. This isn't
enough. We need something in the middle, hidden to eye, that will resist
the travel assaults. I choosed to use a thick felt layer, cross shaped
to fit into the outer layers.
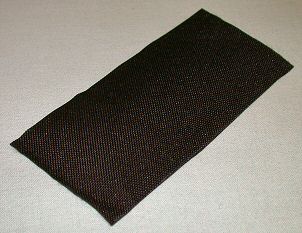
- The
lower layer: this must be a hi-grip material, because this will
be in contact with the car deck and must resist all kind of accelerations
(within certain limits...). I obtained the material from the previous
cited gym weight (the inner layer, the one that usually touches the
body skin).
- The
border material: Obtained from the same gym weight.
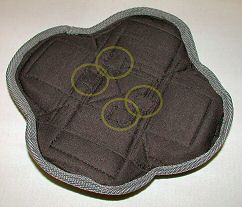
- The
weights: to be sure the mount stay attached to the ground even under
our offroad trips, we need to anchor it by gravity force. So we need
four weights to be putted at the four arms of the cross. To obtain a
good weight, capable of a little deformation (it's nicer to touch and
easier to work with) you can go to a fishing shop and buy a Kg of lead
speres, about 1mm diameter. You can assemble it with four little plastic
bags, not too tied to permit a good manipulation of the weight. I assembled
four 300gr weights, so I needed 1.2Kg of material. Perhaps 300gr is
too much but this was my choice. You may choose to recycle the gym weight
material, but I choosed not to do this because it was something like
sand and I didn't like that.
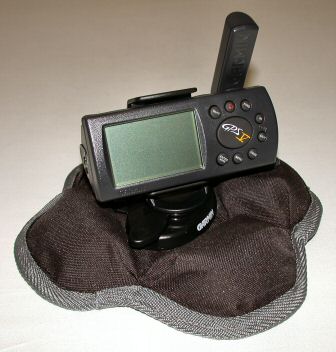
- Screws:
our aim is to attach the bundled plastic car mount to our work.
We'll need to disassemble the plastic car mount by unscrewing the four
little screws that we can find to the bottom of the mount and by substituting
them with new and longer screws, since we need to go through all the
three layers before goin' into the plastic unit. I suggest finding something
with flat drill, flat head (wood screws are good, just cut the drill)
and 2/3mm longer that the original one. Consider that the three layers
can compress when screwing through them, and the screw cannot be too
long because it may damage the plastic unit. To avoid that the screw
head to break through the layers material, we need also some metal rounds.
- The
original material: sure this will not work without the original
plastic material bundled with the unit. If you already used it, consider
avoiding to proceed, since the cost of buying another plastic mount
will not justify the work. I choosed to use also the repositionable
sticker to guarantee more gluying of the plastic mount to the upper
layer.
|
The upper layer
The middle layer
The lower layer
|